

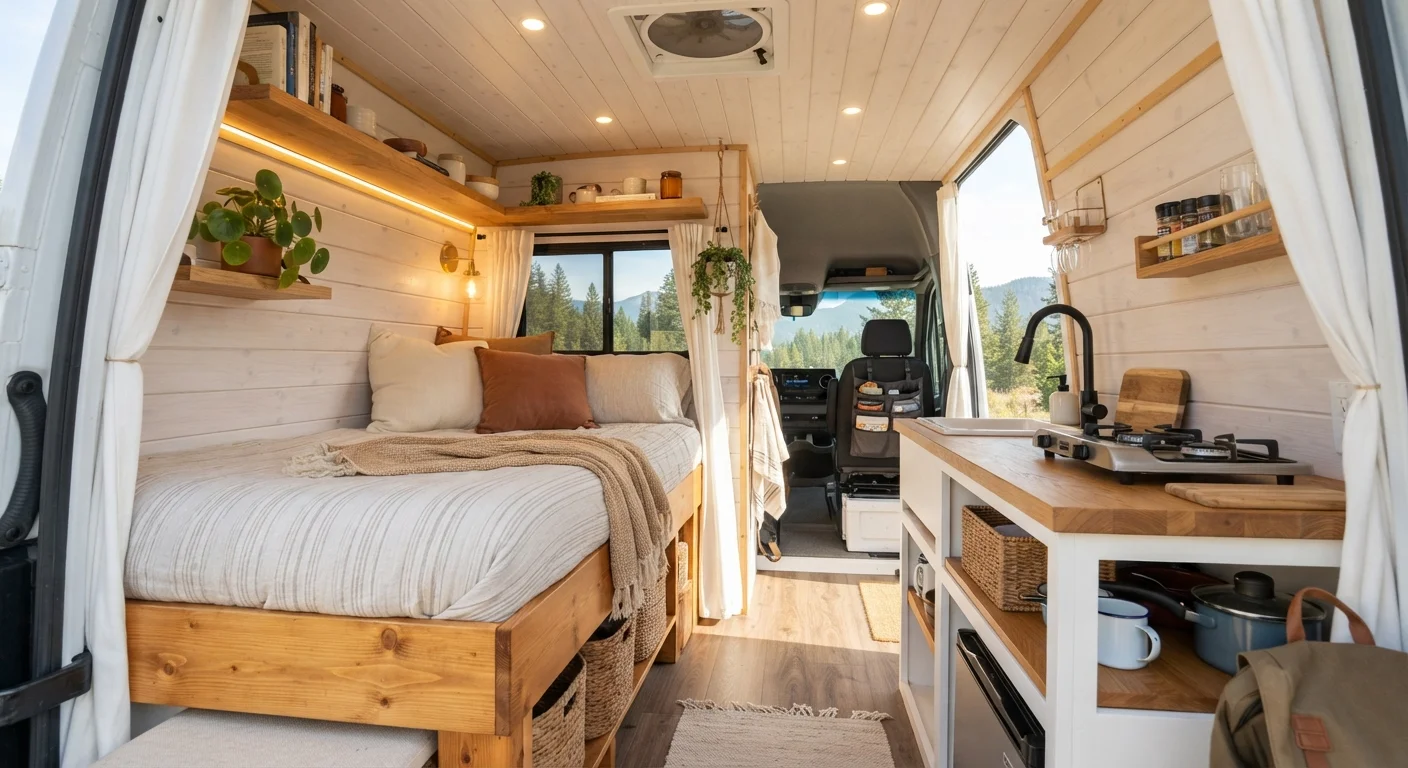
Key Takeaways
- Choosing the right van size and cargo layout before buying saves significant rework later.
- Insulation is the single build step most beginners underestimate in both cost and importance.
- Electrical planning should happen before any wall panels go in, not after.
- Local vehicle codes and regulations vary; check them before starting any structural modifications.
- A realistic budget typically runs higher than initial estimates once materials and tools are added up.
What you will need
Planning your layout before you touch a tool
The most common mistake in a van build is starting with materials before settling on a layout. Once screws go into metal, changes cost time and money. Spend at least a few evenings sketching the interior to scale, accounting for where you will sleep, cook, sit, and store gear.
A high-roof cargo van gives you the most vertical flexibility, including the ability to stand upright. A standard-roof van costs less but limits where you can place certain furniture. If you have not yet purchased a vehicle, compare cargo and passenger van options before committing, since the van body shape affects every build decision that follows.
Think through daily routines. Where will you charge devices? Where does wet gear dry? Where do you cook when it is raining? Answering those questions on paper is far cheaper than answering them with a crowbar later.
What you will need
The build sequence that saves the most rework
Van builds have a natural order. Skipping steps to reach the satisfying parts (like laying flooring or building a bed) often means tearing things out when you get to electrical or plumbing.
Clean and prep the van shell
Remove any factory flooring, shelving, or wall liners. Treat any surface rust with a rust-inhibiting primer before it is covered by insulation. Clean the metal walls and floor with a degreaser so adhesives bond properly.
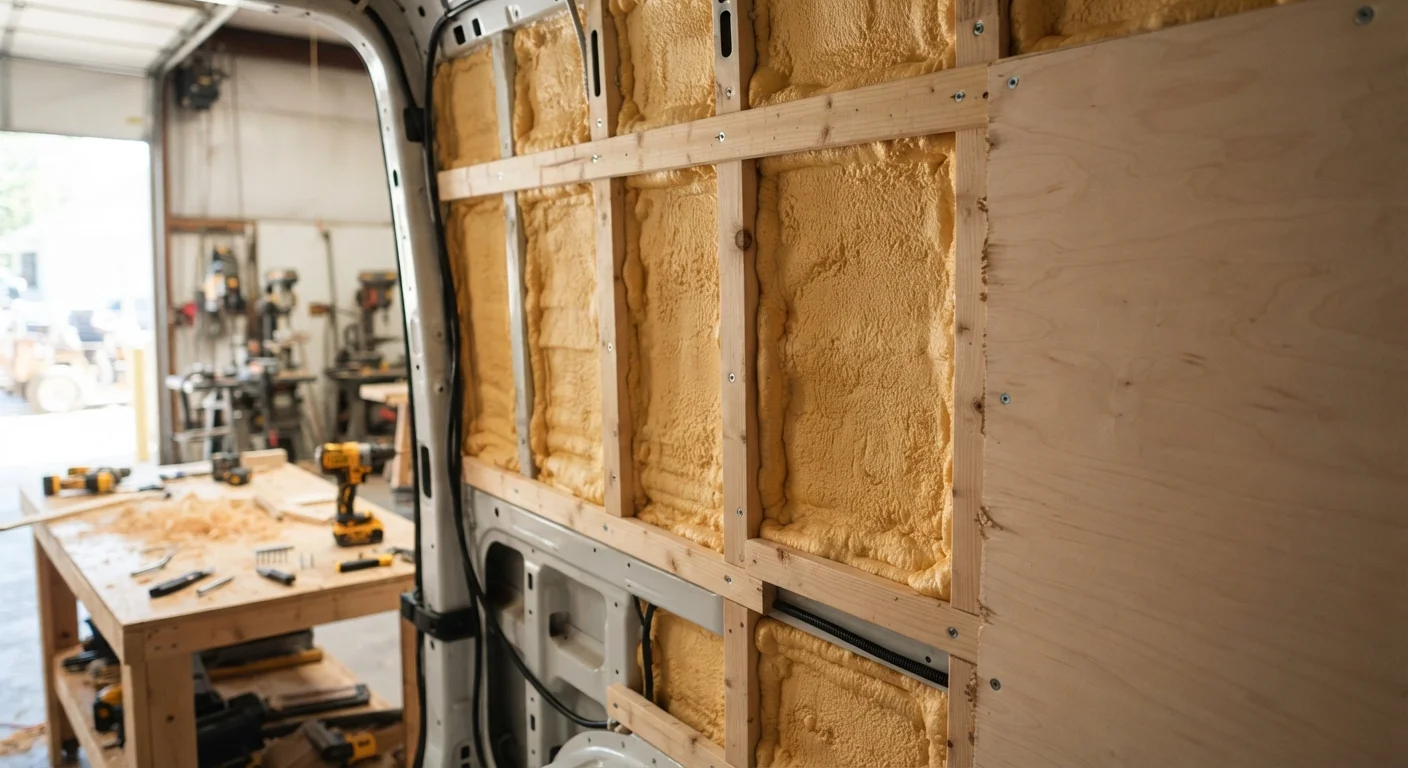
Insulate walls, ceiling, and floor
Rigid foam board works well in flat or nearly flat cavities. Spray foam fills irregular gaps and ribs. Thinsulate or similar products handle ceiling curves. Aim for at least R-13 on walls and R-19 on the floor if full-time living is the goal. A vapor barrier between insulation and wall panels reduces condensation buildup in cold climates.
Install wall framing and run electrical conduit
Rivet or bolt furring strips (typically 3/4-inch by 1.5-inch lumber) to the metal walls. These give you something to screw wall panels and cabinets into later. Before closing up the walls, run any electrical wiring or conduit for lights, outlets, and the solar or battery system. Label each wire at both ends.
Install flooring and wall panels
Lay plywood subfloor over the insulated floor, securing it to the factory floor tie-downs or existing anchor points. Vinyl plank flooring, which is water-resistant and thin, works well over the subfloor. For wall panels, thin plywood (1/4 inch) bends around curves better than thicker stock. Cut panels to fit around wheel wells before finishing the surface.
Build and secure the bed platform
A fixed bed running lengthwise works in vans roughly 6 feet or longer (interior length). Shorter vans often require a diagonal or folding bed. Build the frame from 2x4 lumber, anchored to the floor using L-brackets bolted through the subfloor into factory anchor points. The space underneath is valuable storage, so plan drawer or hatch access into the design.
Install ventilation and a roof vent fan
A roof vent fan pulls stale air, cooking odors, and moisture out of the van. Cut the roof opening with a jigsaw, seal the edges with butyl tape, and fasten the vent according to the manufacturer's instructions. This is one area where following the product's directions precisely matters: a poorly sealed roof cut will leak.
Set up the electrical system
A basic van electrical system has four parts: a battery (usually lithium or AGM), a charge source (solar panels, a DC-DC charger from the alternator, or both), a battery management system or fuse block, and the loads (lights, fan, outlets). Size the battery bank to your expected daily use in amp-hours. A 200Ah lithium battery covers basic lighting, phone charging, and a vent fan for most users.
For anyone weighing whether a van conversion fits their lifestyle versus a purpose-built RV, this honest look at full-time RV living covers the practical trade-offs in detail.
Test your layout before you build it
Tape out the footprint of your bed, kitchen, and seating on the van floor with painter's tape before cutting any wood. Sleep in the van for a night with the tape layout in place. You will catch problems with the design before any material is wasted.
Budgeting and managing costs
A minimal, functional van build (bed platform, insulation, basic electrical) can run anywhere from roughly $1,500 to $4,000 in materials depending on region, material choices, and whether you already own tools. A full build with a roof vent, solar system, propane cook surface, and built-in storage can exceed $8,000 to $12,000 before labor.
Cost overruns happen most often in three areas: electrical components, which are easy to undersize; lumber and fasteners, which accumulate quickly; and corrections after mistakes. Buying materials in stages, only after each phase is fully planned, keeps spending closer to estimate.
Used RV buyers face similar hidden-cost surprises, and the inspection checklist in that article applies to used cargo vans as well. Before starting a build, verify the van's roof, floor, and sliding door seals are free of rust or water intrusion. Repairing those after the build is complete is significantly harder.
This article is for general informational purposes only. Building codes, vehicle regulations, and safety requirements vary by state and locality. Consult a licensed electrician for any wiring work beyond basic 12-volt connections, and verify your modifications comply with local laws before use on public roads.